Sunday, March 31, 2013

Whole Wheat Pita Bread!

Huzzah!  Two in a row!

So, yes, I love cooking.  I have to be honest though when I say that I love baking even more than cooking.  I have been doing a lot of baking experiments, all of which I hope to post on this blog soon.  I want to start tonight with the whole wheat pita I used as my side dish to the previous post (Curried Chickpea and Kale Soup).  

Again, I got the original recipe idea from epicurious.com and modified it slightly to fit my liking.  The link is at the bottom at this post.


There it is.  In all it's glory.  So let's talk pita, yeah?

Ingredients:


  • 1 (1/4-ounce) package active dry yeast (2 1/2 teaspoons)
  • 1 teaspoon honey
  • 1 1/4 cups warm water (100°F)
  • 2 cups whole wheat flour, plus additional for kneading
  • 1 cup white flour
  • 1/4 cup extra-virgin olive oil
  • 1 teaspoon salt
  • Cornmeal for sprinkling baking sheets

  • Alright, here we go:


    Start by putting the water, honey and salt in a saucepan over the lowest heat possible.  Using a thermometer, heat until it's about 100 degrees.  
    **Most recipes say that you can go as high as 115 degrees without killing your yeast, but I've never had luck going that high in temp**
    Once heated, pour 1/2 the water mixture into a bowl with the yeast and let sit for about 5 minutes.  You will see the yeast begin to foam (it looks like it's growing).  If it doesn't do this, you need to start over with new yeast and water because you killed it.  I've done it a thousand times.

    While you wait, mix the flours together in a bowl. 

    After 5 minutes, whisk 1/2 cup of the flour mixture into the bowl, cover, and let double (45 minute wait here).  It will look wet and foamy.  I know, gross.

    After 45 minutes, you get to add the rest of the flour and the oil in to form a dough!  It will be a fairly soft dough, meaning it will be sticky to the touch.  Then, dump (formal term is turn) the dough out onto a floured surface and begin to kneed the dough.  
    **Use the heel of your hands and turn the dough frequently for good kneeding technique)
    Kneed the dough for 8-10 minutes (I always go 10) so it is smooth and when you pull on it, it bounces back.  Now you get to put it into a greased bowl and let rise for an hour (double it's current volume).

    What's next?!  The fun part.  After 1 hour, punch the dough down and dump onto a floured surface.  Divide the dough into 8 equal parts (I'm really bad at this part).  Have a sheet set aside with cornmeal sprinkled on it ready, and preheat the oven to 500 degrees.
    **I have a brick stone that I put in my oven.  If you have one USE IT**

    Roll each equal part into a ball.  Take one ball, flatten it, and roll it out until it's about 7" in diameter.  Do this with all 8 parts!


    After you're done, set each pita on the sheet with cornmeal (so it doesn't stick), cover, and let rest for 30 minutes.

    When 30 minutes is up, place pitas 2 at a time on the stone and cook for 2-3 minutes.
    **If you aren't using a stone, place them directly on the rack of your oven**

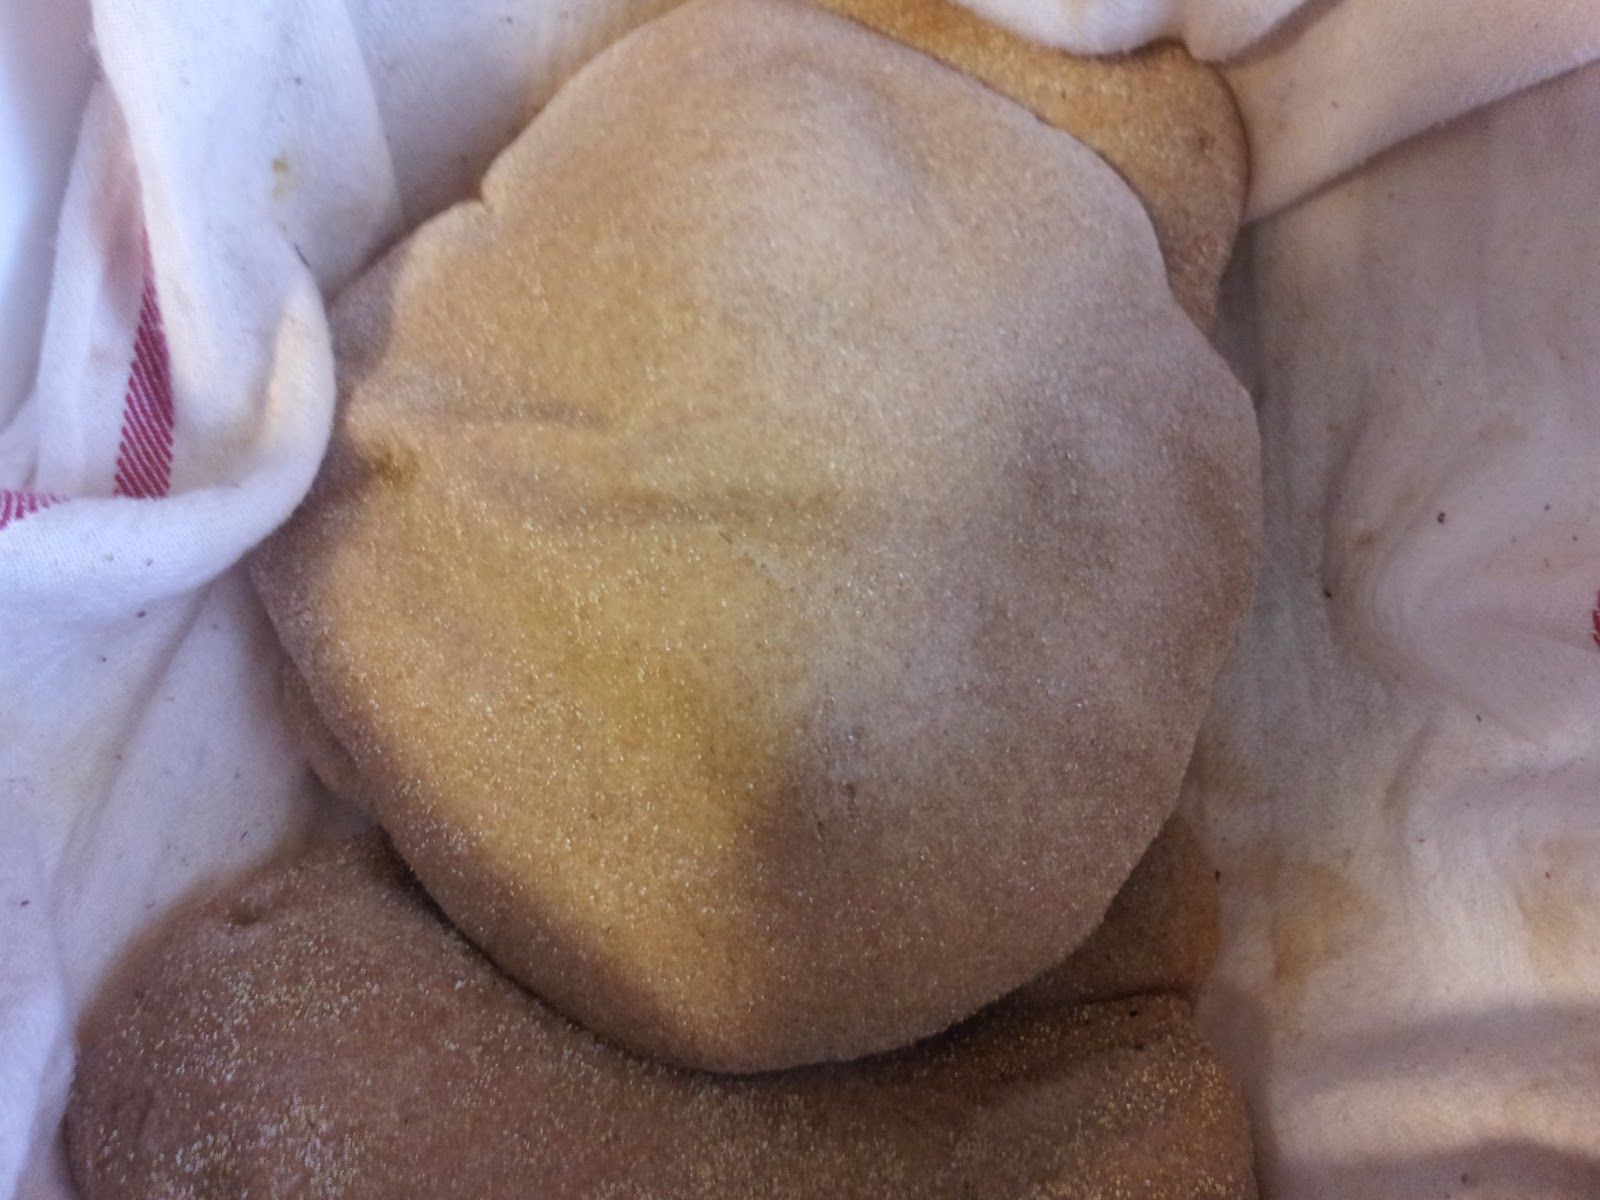
    How do you know when they're done?  You watch!  They will puff up and when they are fully puffed, they are fully done!


    Cool, huh?

    This makes (yields) 8 pitas that you can serve nice, fresh and warm with ANYTHING!  It's your life, do whatever you want with them!  Let me know your creative ways though!


    Let us talk basic kneeds!


    Read More http://www.epicurious.com/recipes/food/views/Whole-Wheat-Pita-Bread-108122#ixzz2PAVps78t

    Curried Chickpea and Kale Soup

    Alright.  I'm going to try this whole blogging thing again.  There is one thing I need to mention, however.  It's going to be all vegan recipes from here on out.  I do also want to point out though that just as easy as you can make a recipe fit for vegans, you can make these fit for meat and/or dairy consumers.  Not that I encourage that though.  :-)


    It won't need it.  

    So this is a recipe that I modified from epicurious.com (the link is at the bottom of the page as a reference).  It's an African soup and I did make a lot of changes.

    Here are the ingredients (my modified ones):
  • 2 tablespoons canola oil (any oil works)
  • 1 medium onion (about 6 ounces), chopped
  • 1 medium red bell pepper (about 6 ounces), chopped
  • 1 jalapeƱo chili, seeded and finely chopped
  • 3-4 large cloves garlic, finely chopped
  • 2 cups low-sodium vegetable broth
  • 1 (15-ounce) can chickpeas, rinsed and drained
  • 1 cup chopped tomatoes, seeded and peeled, fresh or canned (I used a 14 oz can)
  • 4 cups raw kale, chopped
  • 1/2 head fresh broccoli, chopped
  • 1 1/2 Tablespoon hot curry powder (you can use mild)
  • 1 teaspoon of cumin
  • 1 teaspoon tumeric
  • salt to taste
  • Freshly ground black pepper, to taste
  • 1 (14-ounce) can light coconut milk
  • 1/4 cup chopped fresh cilantro plus additional for garnishing

  • Process:
    This is so easy, that is part of why I loved it.  You heat the oil in a large pot on medium heat.  Add the onion, pepper and jalapeno and cook for 5-10 minutes or until they start to stick to the pan just slightly.  Add the garlic and cook for about 1 more minute.  Add the spices and STIR for 1 minute.
    **This is really important.  It opens up the spices when you cook them before adding any liquid to your concoction**
    Add the veggies! (chickpeas, kale, broccoli, etc)  Stir until they are coated with the seasoning goodness.  Then add the tomatoes and veggie broth.  Simmer (low boil) this for about 10-15 minutes.  It will look like this business:


    Rhen add the coconut milk and cilantro.  Stir and let warm for as long as you want until you're ready to serve!
    **The longer it sets, the better it gets!!


    Now, I served this with fresh-made pita (recipe also on this blog).  You can, however, serve this over brown rice and it would be just as delightful.

    **Those of you who want to destroy it with your animal products can add any or all of the following:
    • chicken or lamb (you will want to saute that in before you add the veggies)
    • top it with plain yogurt or sour cream
    • using ghee or clarified butter instead of oil for sauteing 
    Anyway, the link at the bottom is a direct one to the recipe I used.  Let me know what you think!  I think this is a good one to kick off my almost year hiatus from this website!

    Let us talk basic kneeds!